Automotive
Background
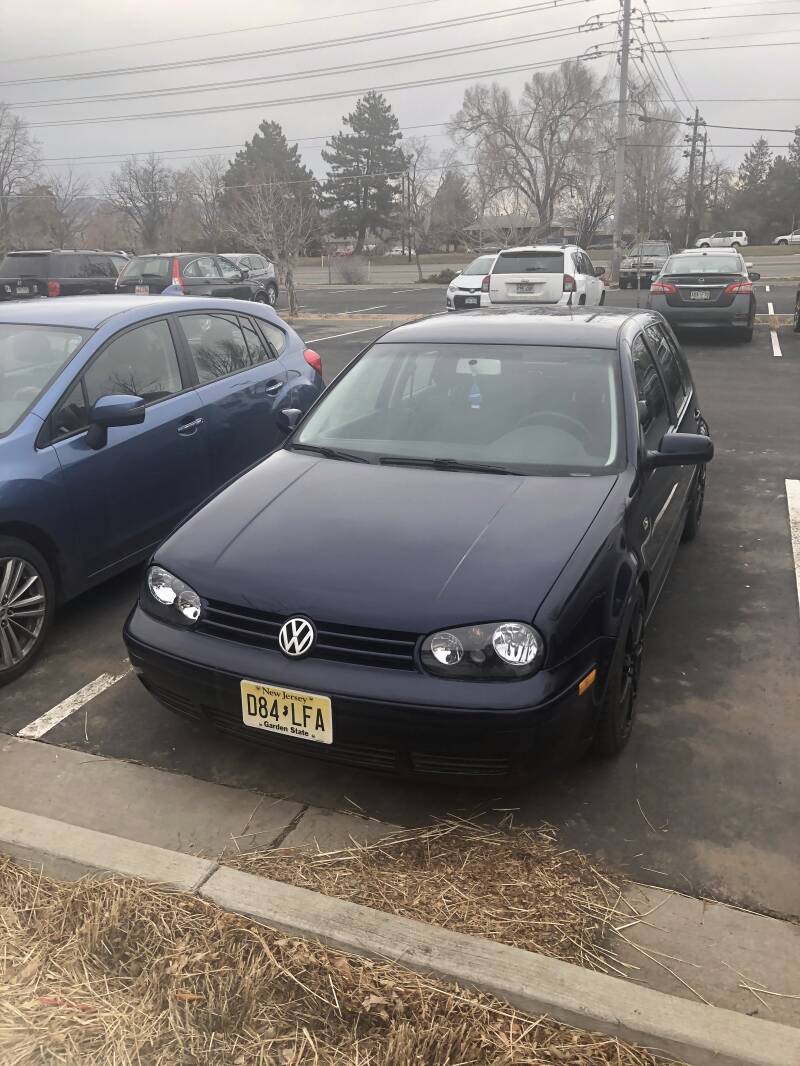
I started messing with cars as soon as I could drive. YouTube was my handy next-door neighbor. At the time, I drove a 2003 VW Golf, stick.
Early on, I stuck to relatively easy jobs. Head unit and speaker upgrades, brakes, coilovers, wheels, and tires. This hobby was expensive for a high school student, and I needed to buy tools on top of parts. These jobs were relatively cheap.
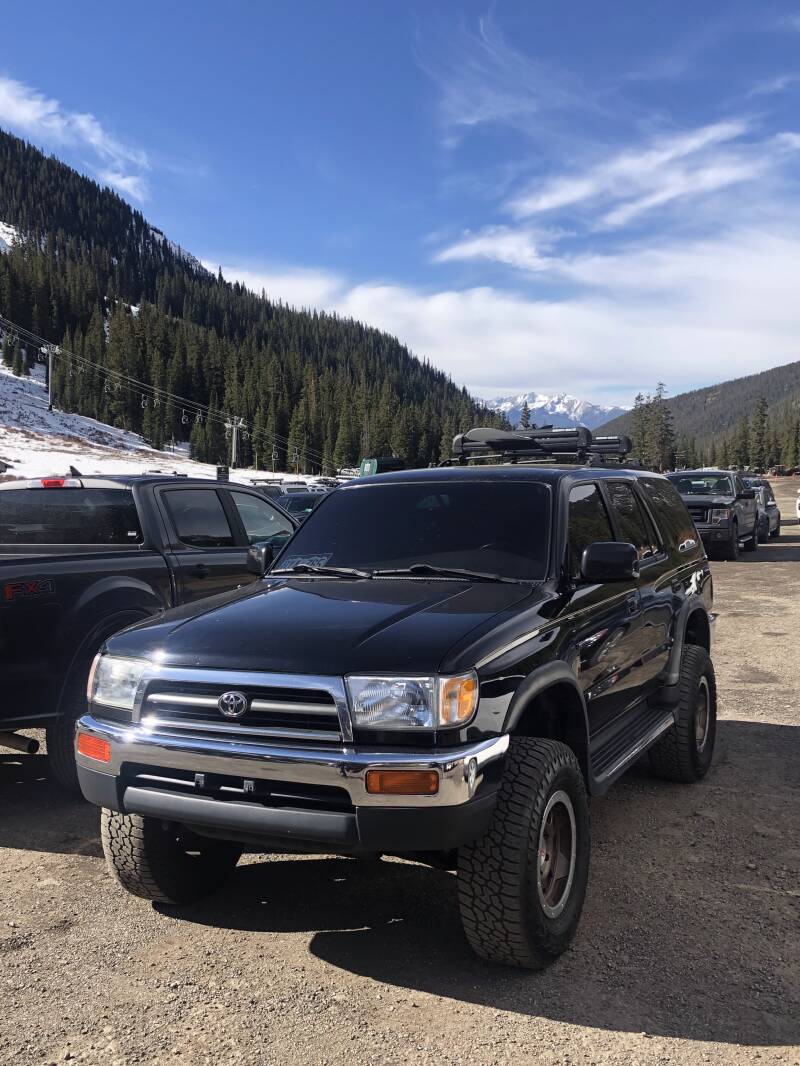
In 2020, I moved out to Colorado for college with my lowered Golf, completely unprepared. FWD was rough in the snow, but surmountable with good snow tires. Ground clearance was a bigger problem. My car would scrape going over large potholes. It was time for a new vehicle, and I wanted to find something I could modify. I settled on a 1998 Toyota 4Runner.
1998 4Runner
An old 4Runner was the perfect choice. Besides being affordable, these trucks feature a body-on-frame construction, are very reliable, and have a large aftermarket following, making COTS upgrades readily available.
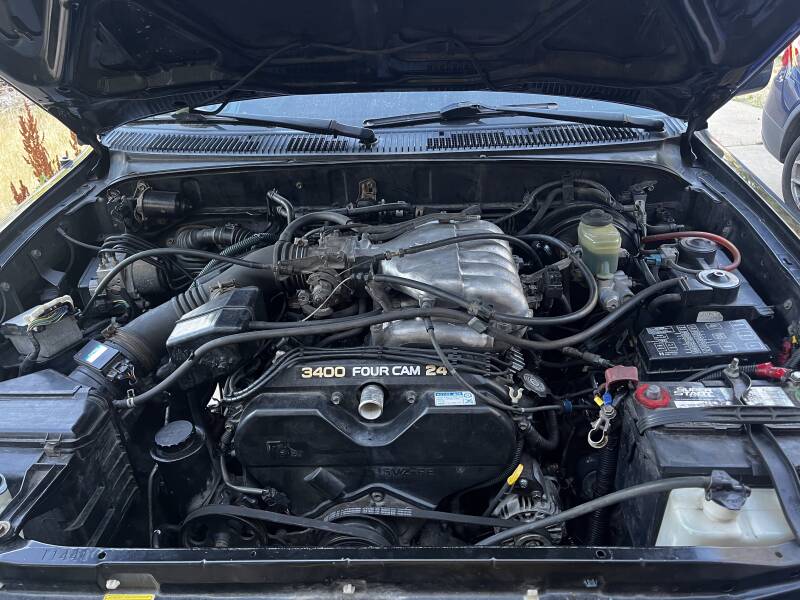
They're relatively bare-bones compared to modern cars. No lane assist or blind spot detection, limited traction control, a 6-cylinder naturally aspirated 3.4L engine, and a 4-speed automatic transmission. Not as difficult to understand as a newer vehicle, perfect for learning the fundamentals.
My objective with this project was to do as much work myself as possible, understand each subsystem, and build a reliable daily driver with off-road capabilities. That meant reasonable lifts and upgrades, nothing crazy. A 4" lift, 35" tire, solid front axle swapped build would be far more capable off-road, but it wasn't worth the poor highway handling and gas mileage.
Suspension Upgrade
I bought the car with a 2" lift and larger tires, but the previous owner hadn't made any other modifications. Big mistake. This was causing premature CV axle and tire wear because the stock geometry was not designed for such modifications. Don't change components of a system without understanding the system!
My first upgrades were new upper and lower front control arms. These were much stronger than stock, but they were also designed to accommodate a 2-4" lift. The upgraded arms increased my caster angle, correcting tire alignment and eliminating premature wear.
The axle issue was addressed with another upgrade, swapping in extended travel CVs that could handle the lifted geometry without tearing open.
The shocks and struts were also replaced. The Eibach set that the previous owner had installed was starting to wear out and make noise. The Bilstein 5100s I installed noticeably improved ride quality. With the shocks, I was finished with the front suspension. The new system was much stronger, bushings had all been replaced, and the ride felt great.
Other suspension upgrades to mention:
- Tie Rods, Inner and Outer
- Sway bar bushing and adjustable end links.
- Spacers to drop the differential, improving CV angle.
- Adjustable rear upper and lower control arms.
- Adjustable panhard bar and weld-on drop bracket.
- 2009 Tundra brake rotors and calipers (fit OEM hubs)
First Repair
The car had run flawlessly to this point, but I was due for something to fail. This car had 130,000 miles after all. The first part to go was my steering rack, which started to leak.
The power steering pump and fluid were also replaced here. I take a preventative approach whenever I can afford it. If one component in a system fails, the rest of the system may not be far behind. It is important to evaluate the cause of failure and understand downstream effects. The power steering leak had starved the pump of fluid, causing it to run with air in the system. These less-than-ideal conditions cause vibrations in the pump, leading to premature wear.
Engine - Transmission
Toyota has a sterling reputation for reliability, but I picked a bad egg. At 135,000 miles, my engine started losing compression in its cylinders. A new head gasket wouldn't solve this problem; I needed an engine block.
As a 20-year-old engineering student with no engine experience, I saw this as an amazing learning opportunity to dissect an engine, but the job was going to be difficult. After getting quotes from a few shops, I took a risk and decided to do the work myself. I spent a few weeks researching, buying components, and sourcing a remanufactured engine. With YouTube as my mentor, and some help from the Toyota engine manuals, it was finally time to get to work.
The first step was lifting the car to remove the drive shafts, sway bars, and frame crossmembers. After the lowered VW Golf, the headroom of a lifted truck was much appreciated. This car came from NJ, and it was 20 years old, so rust was a given. Almost every crossmember bolt would need to be replaced.
Then came the transfer case. I drained the fluid and disconnected the shift lever from inside the cab. Popped off the electrical connectors (after disconnecting the battery), and it was ready to come out.
The transmission would be similar. Disconnect cooling lines, drain fluid. Then shift lever and electrical connectors. The bell housing bolts were tough to reach, but extensions and swivel sockets got the job done.
The most challenging part here was disconnecting the flywheel from the torque converter.
Engine - Removal
With the transmission removed, it was time for the engine. First step was draining the various engine fluids. Then air and coolant hoses, throttle body, accessories (alternator, AC, power steering), fuel lines, ignition coils, and electrical connectors all needed to be disconnected. Oh, and don't forget cruise control.
Then it was time for the lift. The front bumper, radiator, hood (wiper lines), and fan were removed. Engine mounts and exhaust bolts came out last, and these were really tough. Deep in the engine bay, and very rusty.
A cherry picker was used to lift the engine out of the bay.
Now it was time for the fun part, engine breakdown and component transfer. I was grateful to get off my back and into the garage.
Engine - Breakdown
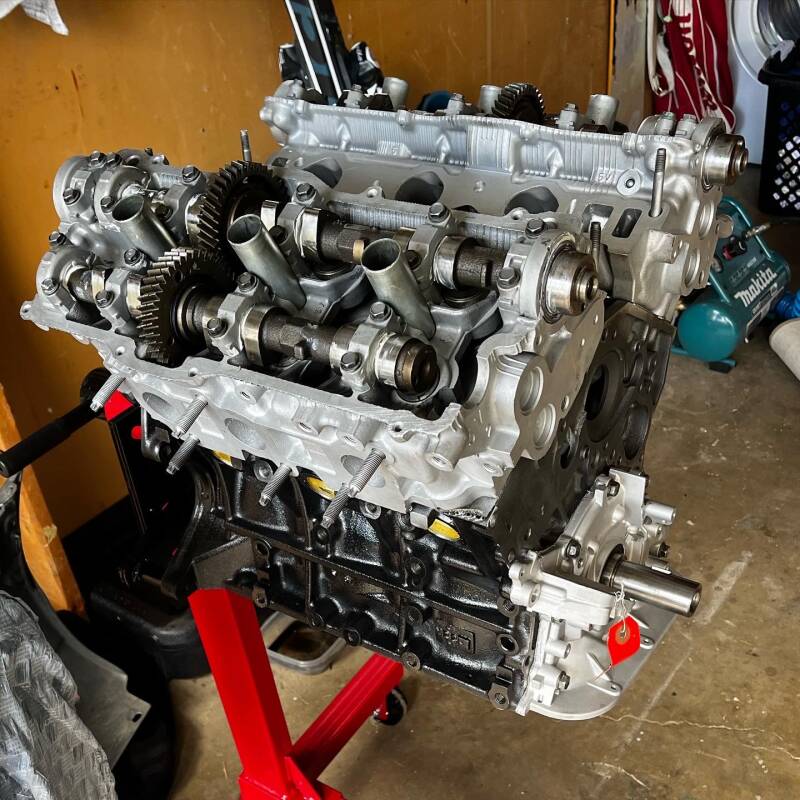
The remanufactured engine I bought came as a block with heads. Pistons, valves, cams, crankshaft, and head gaskets were already taken care of, which made the job easier... but not easy.
From the old block, I pulled off valve covers, cam pulleys, intake and exhaust manifolds, and accessory brackets. I wanted to reuse the components that I wasn't worried about wearing out.
I procured wear items ahead of time. The timing belt, water pump, crank bolt, tensioning pulleys, gaskets, fuel injectors, exhaust bolts, spark plugs, accessory belts, and sensors were all replaced.
Installing these components on the new engine was a blast. I followed the Toyota engine manuals to a tee.
With the block all sealed and wired, it was lifted back into the engine bay, and the above process was completed in reverse. The engine would use conventional break-in oil for the first 500 miles per the warranty. First start was extremely nerve-racking, but after a few good cranks, she started right up. The planning and procurement took 3 weeks, and the execution took 2. Any good shop would sneer at a 5-week engine job, but for a student with no experience, finding time between coursework, I am very proud of this project.
Bumper Fabrication
With the truck back up and running, it was time to continue modifications for off-roading. The stock bumpers limit the approach and departure angles of the truck. Plus, I wanted a winch in case I got stuck. I settled on a steel pre-cut DIY plate bumper kit.
The bumper was tacked together on the car, then removed for full welding.
This was my first in-depth welding project, so I spent a lot more time grinding than laying beads. My MIG flux-core welds weren't pretty, and many needed to be ground out because of porosity. After many hours, I got the bumper together with satisfactory welds.
I finished with another round of grinding to smooth out sharp edges. Then it was time to paint. The raw steel needed a coating to protect it from corrosion.
With the paint dry, it was time to mount the winch, install fog lights/turn signals, and wire everything up.
Other upgrades to mention:
- Rear plate bumper.
- Differential gearing to accommodate larger wheels.
- 33" Tires on 17" wheels.
- Onboard air compressor.
- Cold Air Intake (helps make up for CO's altitude).
- Rear differential locker (air)
Takeaways
- When design engineers ignore DFMA, technicians pay the price. The best designers don't just think about the end product.
- In-depth system-level understanding of cars. I've taken apart and put back together every system.
- Experience researching, planning, and executing large projects.
- Procurement expertise, negotiating with vendors to find the best price.
- Basic welding. My welds may not look pretty, but for hobbyist applications, they get the job done.


