3D Printing


Background
Early hobbyist 3D printers cost $1000+, and were often unreliable. In 2018, all of that changed. Spearheaded by Creality and the RepRap movement, we started to see cheap open-source 3D printer offerings that could produce reliable prints.
By 2019, these printers were all over YouTube. You could buy one for $200, and there were step-by-step videos explaining how to install modifications. The most popular printer was called the Ender 3, and I had to have one. The idea that I could turn CAD into a physical prototype in a matter of hours, for just a few dollars in filament, was hypnotizing.

Early Upgrades
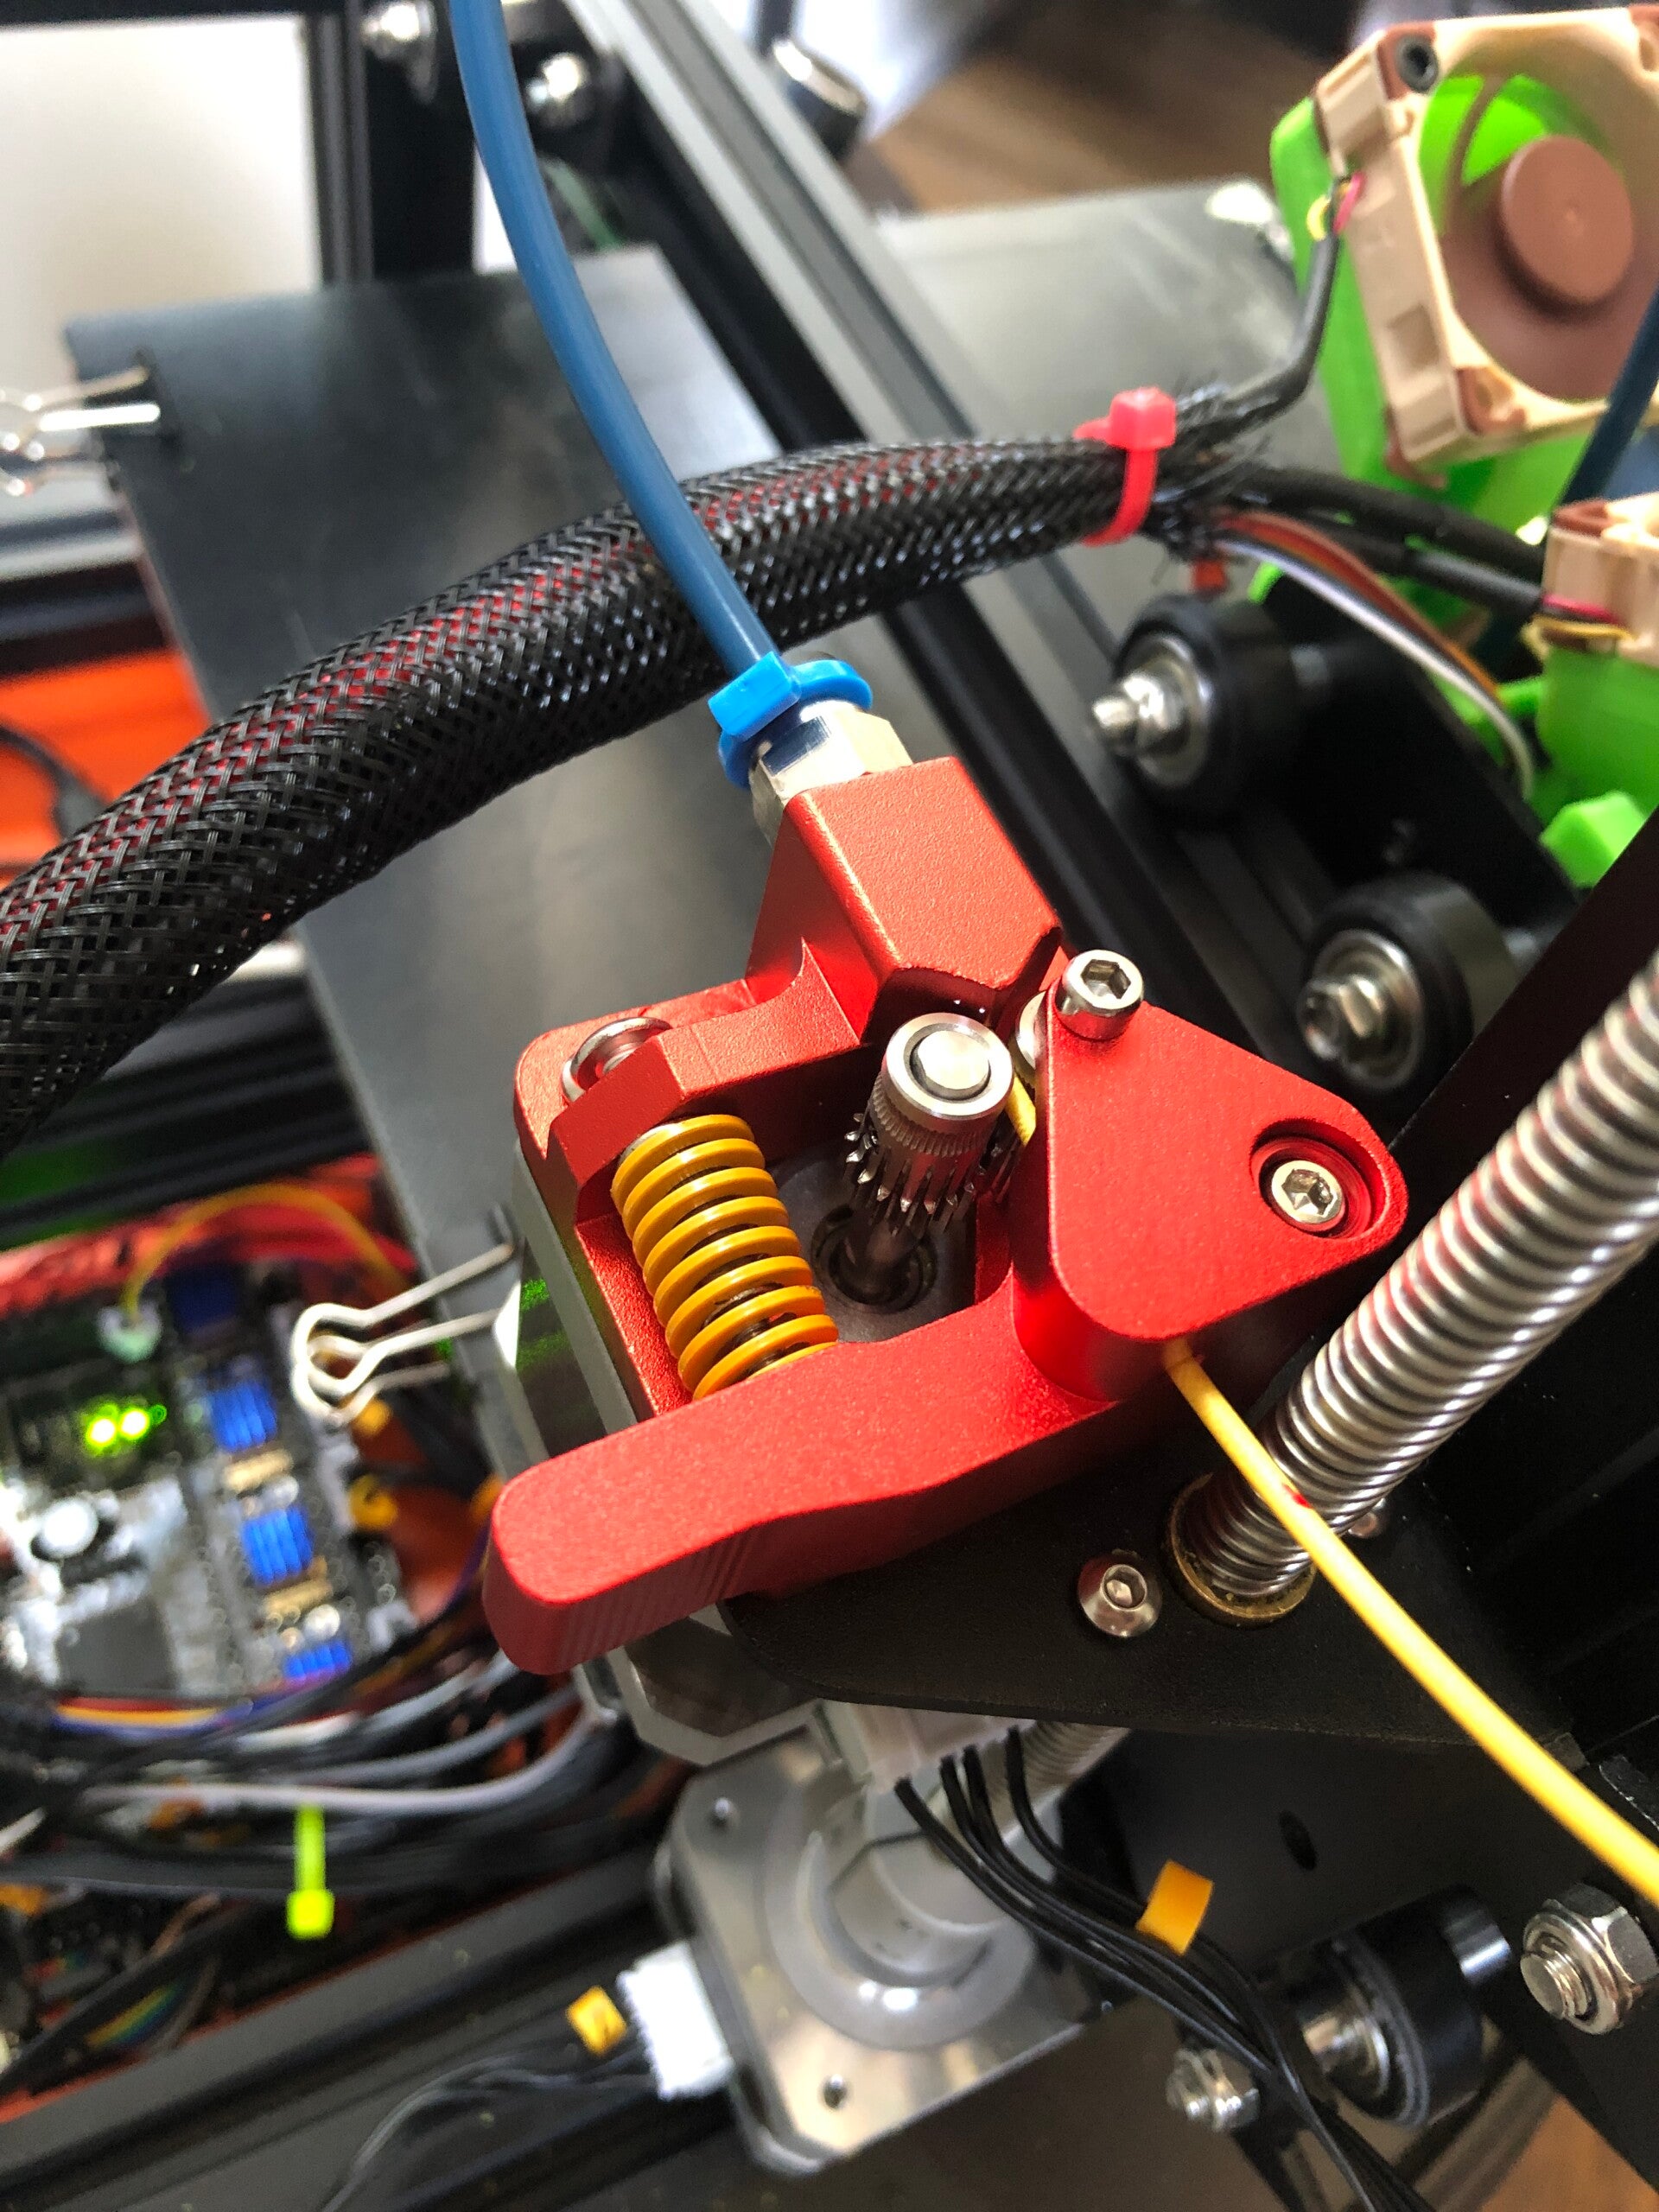
My Ender 3 was stock for about a week before I started upgrading it. My first issue was bed leveling and first-layer adhesion. The bed surface was positioned with 4 adjustable knobs, which would constantly move from printer vibration, and the surface needed to be perfectly parallel to the printer motion system. Every time the knobs moved, the print head would start at a different distance from the surface. If the surface were too close, the filament would have nowhere to go, causing the extruder gears to skip. If the surface were too far, the filament wouldn't stick.
The solution was elegant. A $30 plastic probe could be attached to the print head with a printed bracket and would measure the bed in relation to the print head. Firmware compensated for the height of the surface, yielding consistent first-layer adhesion every time.
The next issue was noise; all of the fans screamed, and the motor drivers whined. I replaced the stock hotend fans with significantly quieter low-rpm Noctua fans first. Then I swapped the control board from 16-bit to 32-bit, with modular motor driver compatibility. TMC 2209 stepper drivers eliminated motor whine. Finally, I designed and printed a power supply cover that could fit a larger, higher-efficiency fan.


Tuning - Slicing/Firmware
I was completely hooked on 3D printing. I'd print anything I could think of, but after a few weeks, my prints started to have issues. Underextrusion, ghosting, stringing, and other common print artifacts started showing up. My printer needed calibration.
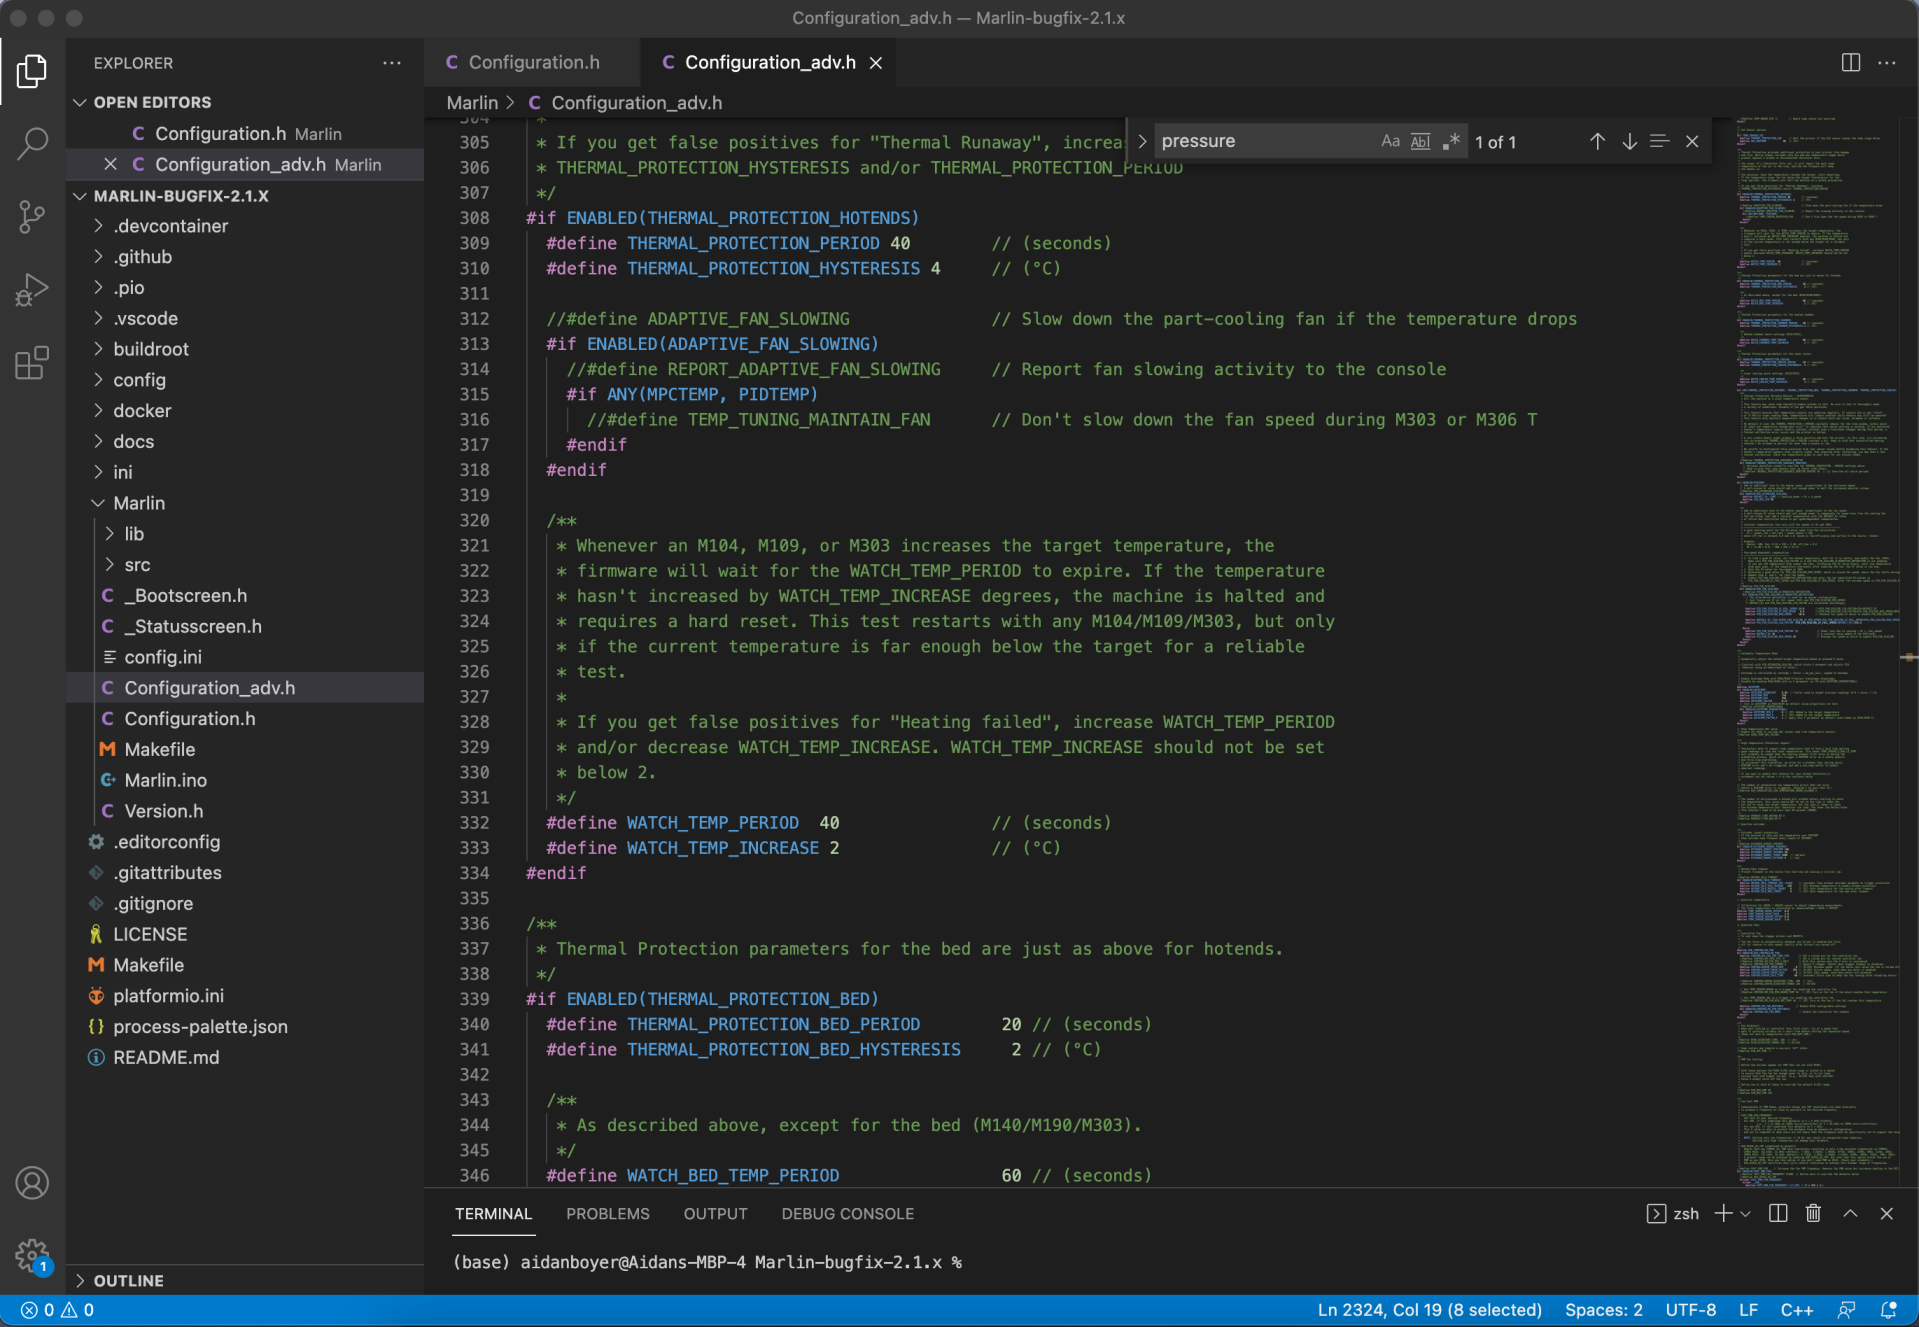
This opened a rabbit hole of new techniques for me to learn. Guided by YouTube, I printed tests with various settings to optimize my printer. I tuned extrusion speed, temperature, heating element PID, acceleration, pressure advance, retraction speed, Z-offset, and much more. My print quality continued to improve as I learned about the knobs I had to turn.
High-Temp Printing
The Ender 3 is primarily designed for PLA. It's the cheapest filament available, lots of fun colors, and it's also easy to print. The problem is, PLA is not an engineering material. It degrades in sunlight! I wanted to print functional parts, not fidget toys.
The next material to print was ABS, which melts at hotter temperatures than PLA and is prone to warping. Although more difficult than PLA, the Ender 3 could handle it. ABS was a big step up, an engineering-grade plastic, but I wanted something stronger. Nylon and Polycarbonate were the strongest materials available at the time, but very challenging to print.
To print with those materials, I would need to do more modifications. I swapped the OEM hotend for an all-metal one rated to 450 °C. New thermistors and heaters were needed to function at such high temperatures, driving firmware changes. The heated bed also needed an upgrade. I swapped the stock heater for a higher-wattage one, wired directly to the 24 V power supply with a solid-state relay (SSR) instead of through the computer board. The bed could reach a blistering 150 °C. With some firmware changes and PID tuning, I gave my first nylon prints a try.
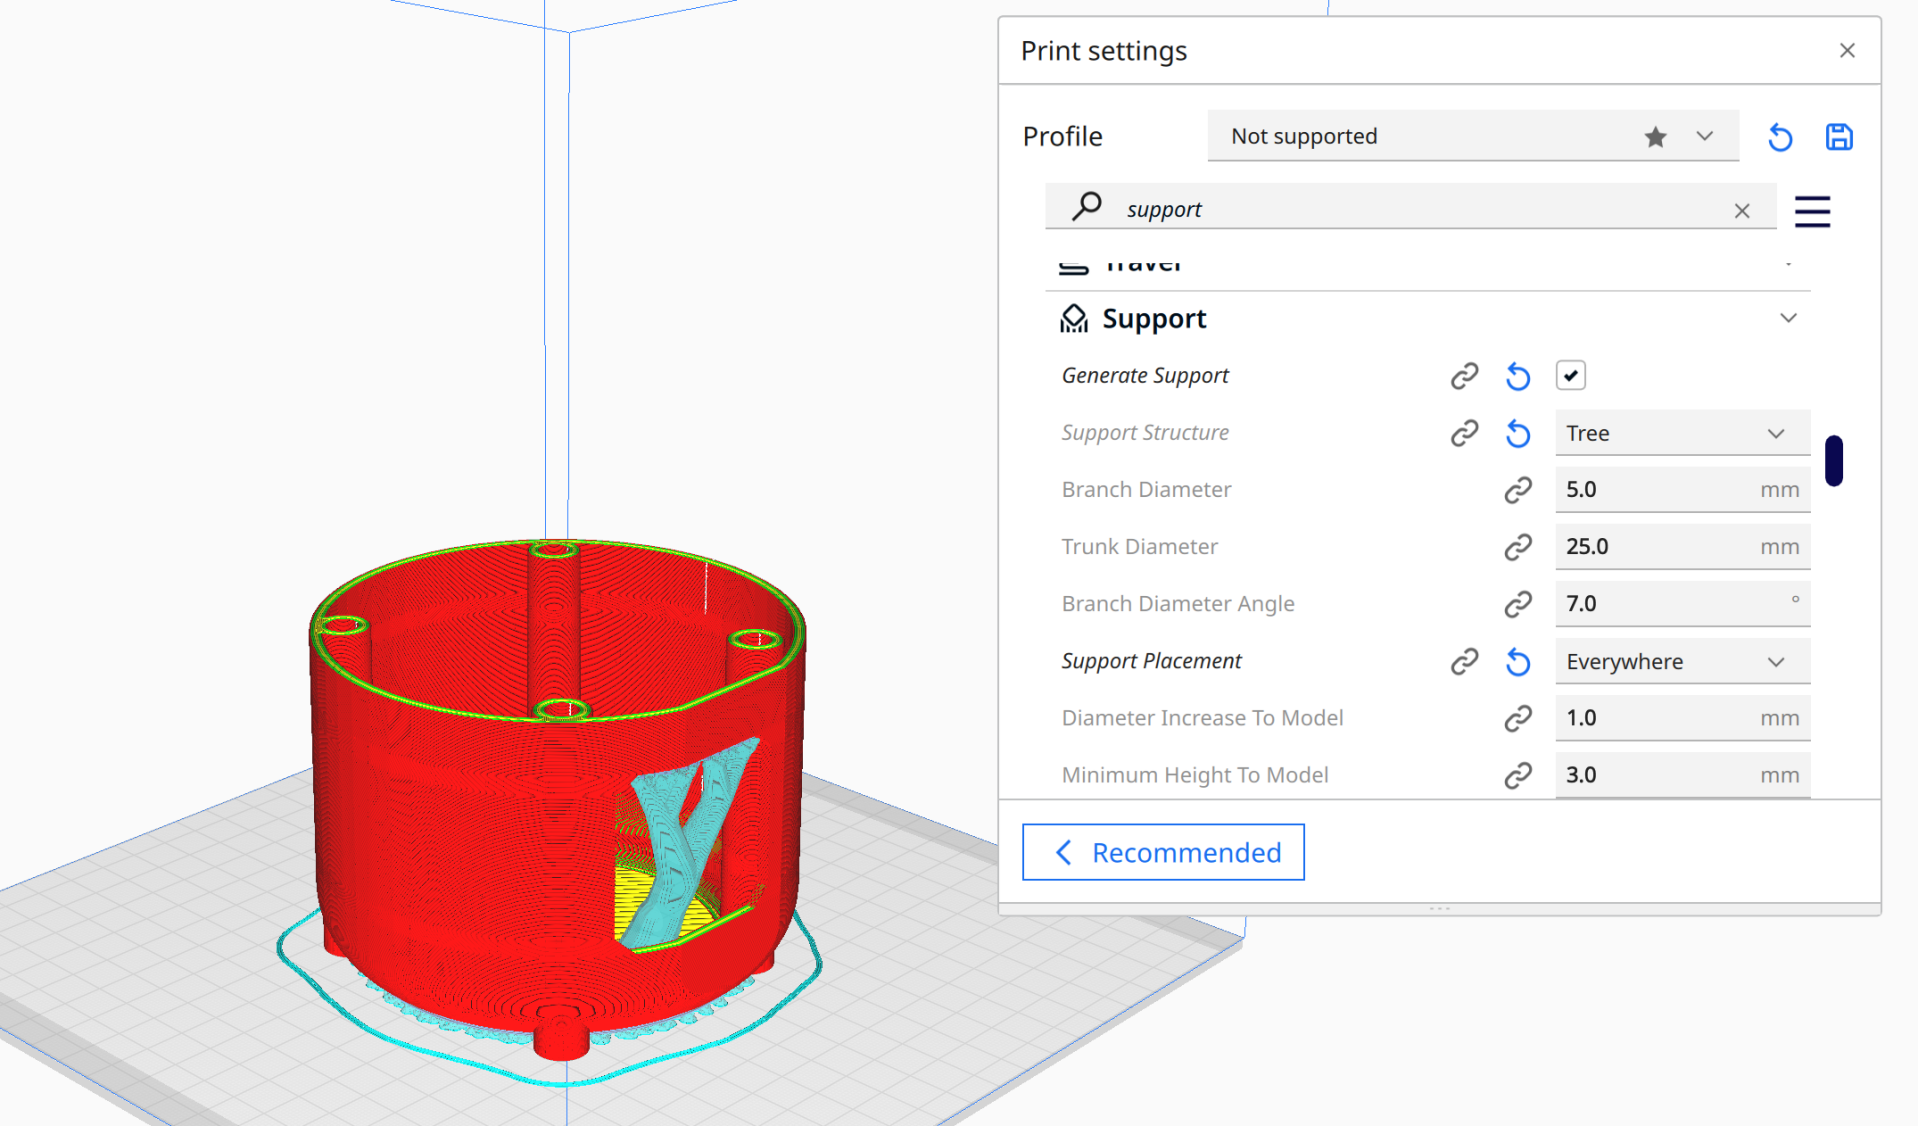
No matter what settings I used, I couldn't get solid bed adhesion, and I knew what the problem was. The bed and hotend were adequately hot, but the print environment was room temperature, cooling the plastic too quickly and causing warping. To remedy this, I purchased an enclosure and a 50 °C COTS enclosure heater. With these, I could control the environment, and I was able to print beautiful Nylon and Polycarbonate components.


Voron 2.4
Now that I'd figured out high temperatures, I wanted to print faster. The Ender 3 was a great place to start, but the motion system was primitive. It was limited to 50 mm/s speeds. By modifying the system and refining belt tension, I was about to push the speed up to 200 mm/s, but the motion system was limiting motor efficiency.
If I wanted to go faster, I'd need a new printer. Introducing the Voron 2.4, a Core-XY open-source project. Build instructions were free online, and you could put these printers together cheaply because they relied on 3D printed components.
This project was very similar to my engine job. Minimal design work, but experience managing timeline, budget, procurement, and execution.
I first ordered all of the COTS components I would need. Hotend, linear rails, belts, power supply, heated bed. Anything that couldn't be printed was purchased.
While I was waiting for parts to come, I got to work printing all of the remaining components. I used ABS because it was strong enough for my use case, but cheaper and more colorful than Nylon or PC.
After wiring and firmware, this Voron was humming at 1000 mm/s, 20x faster than the stock Ender 3 (50 mm/s).


Takeaways
- In-depth understanding of 3D printer subsystems. From thermal feedback loops to motion systems to firmware, I understand how these systems work.
- You don't need a mentor to learn many in-depth technical subjects. YouTube is free, and it helped me work through every problem I encountered with 3D printing.
- 3D printing is a highly accurate method of manufacturing parts without proper machining equipment. This tolerance can be borrowed for non-plastics by printing stencils, bending dies, or negatives for sand casting.
- Curiosity-driven, hands-on problem-solving is the most effective way to learn about engineering.